Image Map
Showing posts with label homemade. Show all posts

Sunday, November 16, 2014

Spiced Pumpkin Brittle

Promised you all this recipe last week,
so here it is....

Spiced Pumpkin Brittle

Ingredients:
  • 1 1/2 cups of pumpkin seeds, plus a handful more for dipping
  • 1/2 cup of water
  • 1/2 cup of light corn syrup
  • 1 cup of granulated sugar
  • 1/2 teaspoon of baking soda
  • 1 tablespoon of pure vanilla extract
  • 1 tablespoon of unsalted butter
  • 1/4 teaspoon of ground cloves
  • 1/4 teaspoon of ground allspice
  • 1/4 teaspoon of ground nutmeg
  • 1 teaspoon of ground cinnamon
  • 1 1/2 cups of semi sweet chocolate chips


Directions:
1. First, toast the pumpkin seeds over medium heat in a pan. Keep the seeds moving so they don’t burn and stop toasting once they start to tan and you can smell the toasted seeds.
2. Prepare a baking sheet lined with parchment paper or a silpat. In a medium saucepan clipped with a candy thermometer (make sure it doesn’t touch the bottom of the pan), heat water, sugar and corn syrup over medium high heat stirring constantly with a wooden spoon until it starts to boil. Stop stirring and let the mixture boil until it reaches 285 degrees. You may have to turn the heat up to high if the temperature isn’t increasing.
3.Stir in the pumpkin seeds and continually stir the mixture so it doesn’t stick to the bottom until the temperature reaches 300 degrees. Remove from the heat and stir in all the spices, vanilla extract, baking soda and butter, just until combined. The baking soda will cause it to bubble up a bit, but that’s normal.
4. Working quickly, pour the mixture over the baking sheet and using the back of a wooden spoon spread across the sheet evenly. Allow the brittle to harden completely at room temperature, or if you’re in a rush, pop it in the refrigerator for about a half hour or until completely hardened.
5. Break the brittle into random irregular shapes.
6. Temper the chocolate chips to dip the brittle into. 
7. Finely chop a large handful of raw pumpkin seeds and place on a dish.  After dipping the brittle in the chocolate, dip the ends in the raw pumpkin seeds and sprinkle with some sea salt. 
8. To package them for gifts, place them in a box lined with parchment paper.  Place a sheet of parchment between each brittle to ensure they don’t stick together.
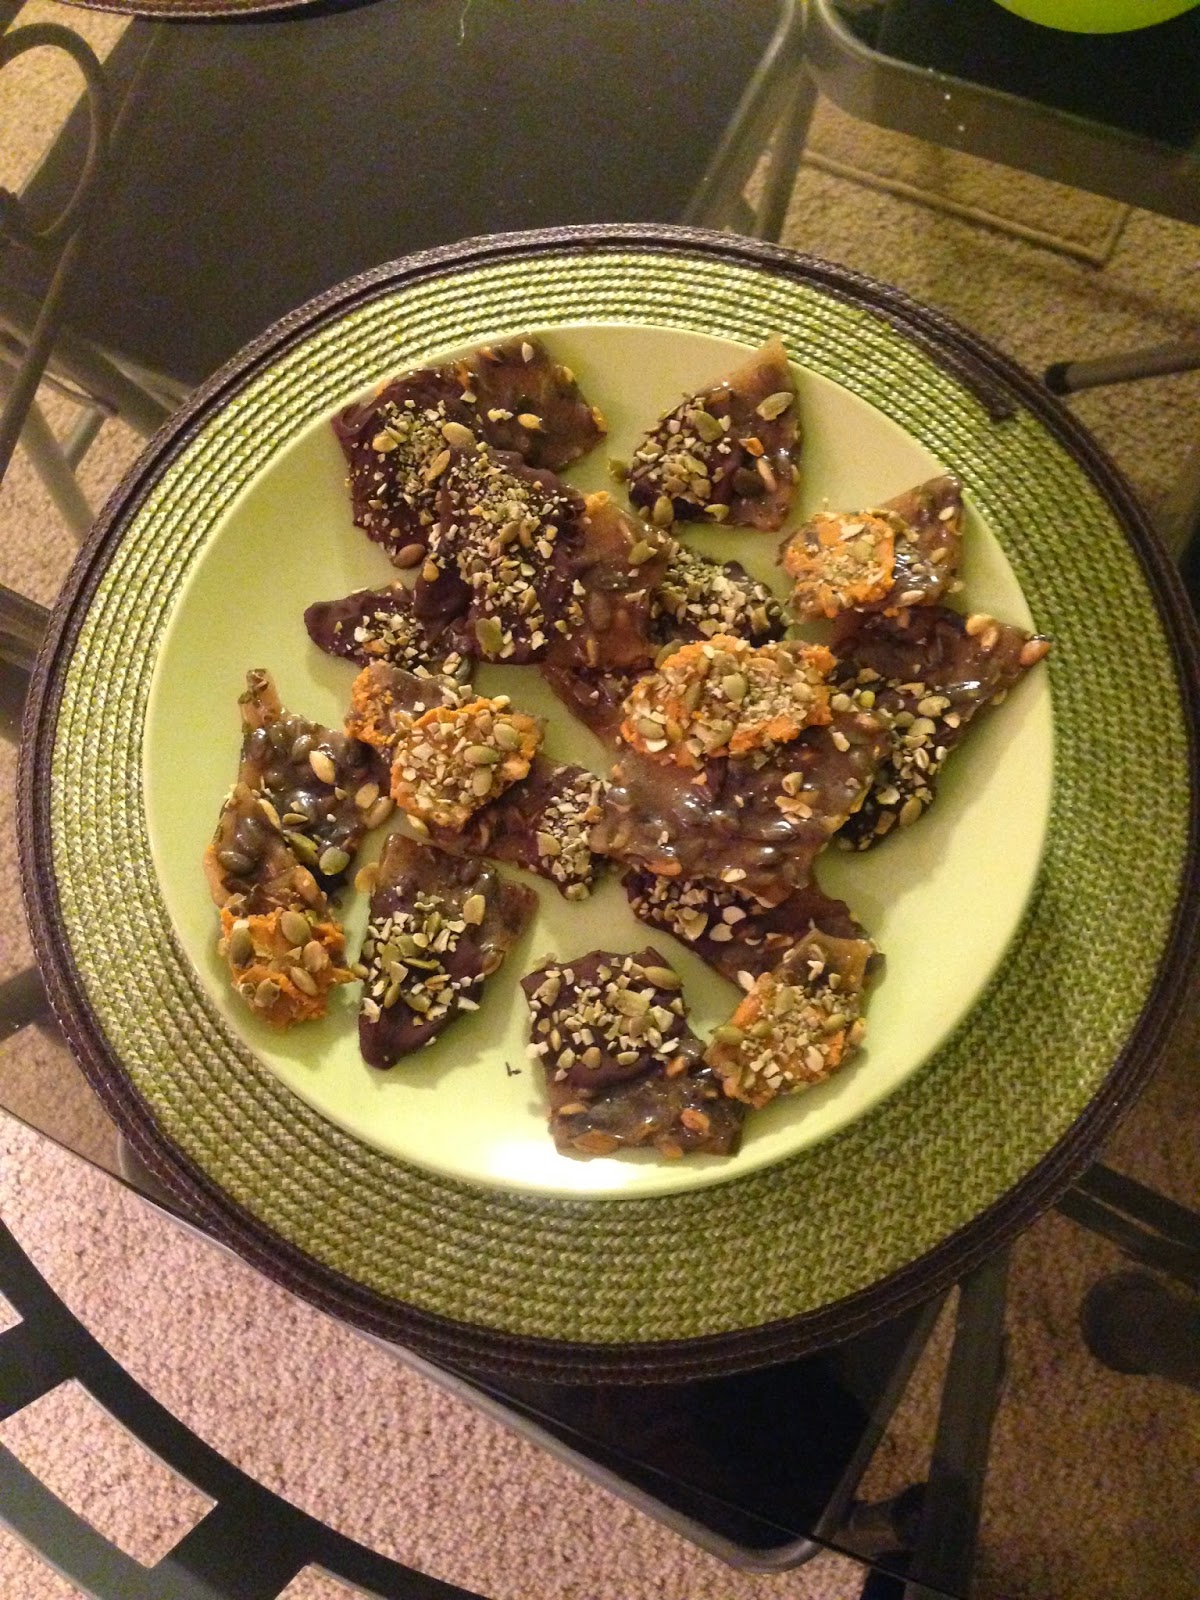
Let me know if you guys have any questions
--its a fairly easy recipe just make sure you
 get the corn syrup, sugar, water to the proper temperature
or it won't get to that crack candy state 
and you will have taffy instead of brittle!

xo,
Rach

Recipe from Honestly Yum.

Wednesday, June 18, 2014

From Rachel's Kitchen: Homemade Toasted Coconut Gelato


Wanted to lighten things up for the summer,
so instead of making ice cream in my ice cream maker,
I decided to try my hand at gelato.

The main difference between ice cream and gelato
is the trade-off of heavy cream and half & half 
for less fattening ingredients, like milk.
And coconut milk...
MMM!

Coconut Gelato Recipe:

(2) cans Coconut Milk (I used Goya)
(1) can Cream of Coconut
(1) cup 2% Milk
(1) small container Chobani Coconut Yogurt
Coconut Flakes (baking aisle of grocery store)

Directions:

1) Refrigerate all ingredients to get them as cold as possible
(with the exception of coconut flakes)

2) If your cans of coconut milk are cold enough,
the ingredients inside will separate. 
Flip the can upside down and open.
You want to pour the heavy creamy contents on top
 into a bowl and discard the coconut water below.
Do this for both cans.

3) Stir can of cream of coconut well and pour into a bowl
with the thick creamy contents of both cans of coconut milk,
1 cup regular milk, and can of yogurt.
Stir well in a large mixing bowl.

4) Pour contents slowly into your ice cream maker
and let churn 25-35 minutes, until contents thicken.

5) While ice cream maker is churning,
pour 1/2 cup of coconut flakes onto a baking sheet
and bake 3-5 minutes on 350 degrees,
checking often (I burnt my first batch)
When its a light golden color,
remove from oven and transfer to plate to cool.
If you leave it on sheet, it will continue to cook!

6) Once cool, pour slowly into the ice cream maker
after at least 20 minutes of churning.

7) Transfer the ice cream canister
(mine pops right out of the maker)
to freezer and let harden at least 4-5 hrs before serving.
(I said 2 hrs in my video, but it wasn't quite there yet!)

Serve with a sprinkle of coconut on top
and enjoy!

The perfect summer treat...

xo,
Rach


Monday, December 23, 2013

5 homemade gifts from the heart

With Christmas right around the corner,
and the holiday shopping frenzy in full swing --
you might really be feeling the affects of 
buyers remorse. 

While it feels good to give to others,
a lot of us take ourselves broke in the process.
If you are looking for last minute,
inexpensive homemade gifts from the heart - 
look no further.

I have 5 ideas for you that 
not only won't break the bank,
but will show your loved ones you put
a little extra, tender love and care into their 
special gift.

Check out these D.I.Y (Do It Yourself)
Gift Ideas....


I think these are so cute and easy.
All that's needed for this simple project 
are some hangers from the Dollar Store which come
(8) to a pack, and some fabric scraps from
 a local craft store (Joanne Fabrics).
 I cut the fabric into strips and using a glue gun, 
wrap them around the hangers until they are covered.
Decorate as you please with bows and ribbons
(Dollar Store has these as well).
All my friends love them! :)


You can use products found around your home to make
these delicious homemade scrubs. Sugar scrubs
are great exfoliators for the face and body this time
of year when skin tends to dry out.
Check out these fabulous DIY scrubs

3. Scarf


Put your hands to good use and knit or crochet
something warm for your loved one this holiday.
Don't know how? 
Michael's (as well as local yarn/craft shops) offer classes 
or YouTube provides great tutorials to get you
started with basic stitches.
 A simple scarf will take you under 3 hours 
to create and makes the perfect cozy Christmas gift!

4. Crafty Paint Calendar


Came across this little project and loved the idea.
Using paint color samples from Home Depot, Lowe's, etc
you can create a customized calendar.
Place an inexpensive frame over it
 (you can find them for under $5)
and use a dry erase marker to change
the month and days. 

5. Baking


Sometimes the best gifts are the ones that can be consumed!
 Head over to Trader Joe's for
some gingerbread mix and bake some fresh
gingerbread for friends and family!
Presentation is everything...so all it takes
are some adorable little tins to present something
freshly baked in that makes all the difference.
I found these cute ones for $1 at Christmas Tree Shop!
Gingerbread not your thing?
How about these adorable melting snowmen cookies
I made last night?

Hope I've given you some good ideas...
feel free to share your own! 

xo,

Saturday, December 14, 2013

homemade cranberry butter

I bought a bag of cranberries at Trader Joe's 
a few weeks ago, well-- because
they are red, festive, and tis' the season for cranberries!

However, every time I go into my refrigerator
there they are in the front of the fridge
taking up prime real estate on the top shelf
begging to be used in a holiday recipe...
Cranberry Butter:


Ingredients:

1. (1) Stick Butter

2. (2) Tbsp Maple Syrup or Agave (I used a honey vanilla agave)

3. Bag of Fresh Cranberries

Directions:

1) Wash 1/2 bag of cranberries and pat dry.

2) Throw cranberries in a pan with 2 tbsp either maple syrup or agave and heat on medium, stirring frequently, until cranberries soften and turn to a jam-like consistently (some of them will burst)
 

3. Throw into a mixing bowl and let cool, about 10-15 min. 
4. Fold in one stick of softened butter (I used salted) and use an electric mixer to whip into butter.
 

5. Serve on English muffin or as a festive holiday butter to add to muffins, bagels, etc.
Tip: Sprinkle a little cinnamon sugar on top for an extra special treat! :)

For more inspiration about how to use cranberries
this time of year, visit here.


And as always, feel free to share your own 
#festive cranberry recipe with other readers!

xo,

Tuesday, December 3, 2013

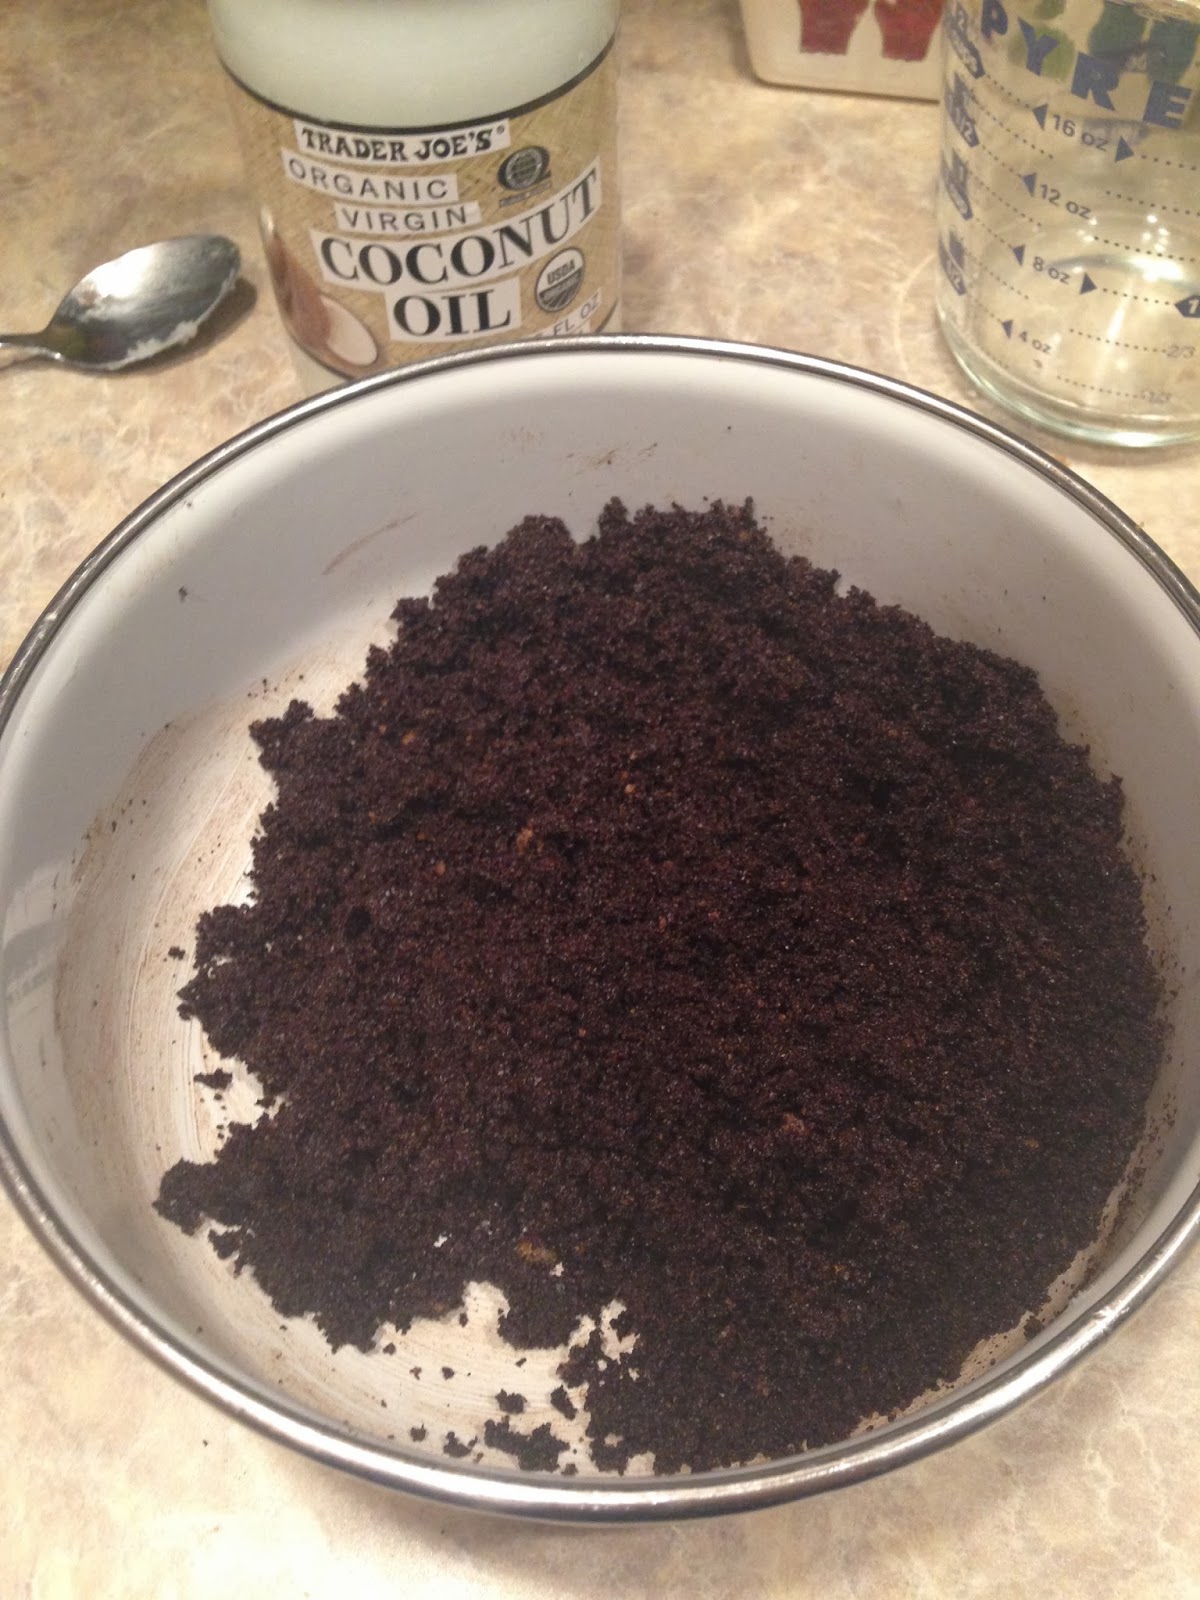
DIY - Coffee & Brown Sugar Scrub

Try this do-it-yourself face scrub
made from products found just around your kitchen! :)


Coffee & Brown Sugar Scrub
Yields: 1 cup

Perfect to fill one small mason jar! 

Ingredients:

3/4 cup coffee grounds

1/4 cup brown sugar

1 tsp vanilla extract

1/2 tsp ground cinnamon or nutmeg

1/3 cup coconut oil or olive oil

Mix all ingredients in a bowl.

As with all facial products being tried for the first time,
test a small area for a reaction, 
then proceed with entire face.

1. Wash face thoroughly.
2. Apply sugar scrub to face, 
gently exfoliating for 60 seconds.
3. Rinse with warm water and pat dry.
Instant Results!


This is a great scrub for the winter months
because our skin tends to dry out and need more exfoliation,
due to heat we have pumping in our homes.

Exfoliate AT LEAST once per week
for optimal results. 

I love coffee,
so I hope you enjoy this nostalgic,
wonderful scent as well! :)

P.S  Gift idea,
add a ribbon, flower, and gift tag
to your mason jar for the perfect little 
'homemade with love' gift!


Bet you didn't know your coffee grounds could be so useful!

To find out even more uses for them, click here.
xo,

Thursday, September 12, 2013

Honey Banana Oatmeal - D.I.Y Facemask

I probably do facemasks at least once
or twice a week. Minimum.
How else am I supposed to keep this
30 year old skin looking baby smooth? ;)

While I partake in facials from my
favorite spa Aria 366 (ask for Jamie!)
probably every few months,
in between I typically use something
over the counter.

I usually use Freeman facemasks,
which you can view here.
Always be sure to cleanse and exfoliate
prior to doing a facemask,
or you can trap dirt, grime, and makeup
further in your pores,
and that's a no no.

For exfoliators or facial scrubs,
I recommend the pink grapefruit scrub
and charcoal & black sugar,
both of which smell great
and get the job done.

For facemasks, I'm also a fan of
the chocolate & strawberry,
anti-stress dead sea minerals
(which is teal blue and makes you
look like a smurf for 15 min ;)
and mint & lemon
all of which I've gone through full bottles.
Recently I tried a sample packet of the
acai berry & I loved that one too! :)

But what if you don't have the money,
or you want to go the natural route,
well then -- you should probably
get this list of ingredients together ASAP
 so you can try this delicious D.I.Y facemask!


Honey Banana Oatmeal Facemask

Ingredients:
1 egg white
1/2 cup raw oats
1 tsp honey
1/2 banana

Recipe:

Whisk one egg white, 1 tsp honey, and 
1/2 ripe banana together in a mixing bowl.

Fold in the 1/2 cup oats (I used uncooked Quaker Oatmeal)
to the honey, egg, and banana mixture.
If it's too runny, you can add some more oats.

Apply generously to face
and leave on skin for 15-20 minutes.
 This can get a little messy,
so I suggest applying it laying down
with a towel underneath you.

Rinse off with warm water, pat your skin dry,
and apply moisturizer.
Your skin should feel tight
and really refreshed! :)


Benefits of this mask:

+ Banana is full of Vitamin A and potassium,
which naturally moisturizes and nourishes.

+ Egg whites are nature's natural skin tightening
remedy (and high in potassium, iron, and protein!)

+ Honey is a miracle ingredient that retains
and attracts moisture.

+ Oatmeal's grainy little flakes act as an exfoliant,
removing dead skin cells leaving the
complexion soft & smooth.

Have your own D.I.Y facemask recipe?
I'd love to hear it.

Recipe Credit.

And don't even get me started on body scrubs....


xo,