
So you know those awful ugly plastic hangers you have hanging in your closet
(don't play dumb, YOU know the ONES)
in an array of colors (I'm talking green, yellow, blue)
that just set an OCD eye into a tizzy?
Yeah, those had to GO!
Buh-bye.
I started researching D.I.Y (Do It Yourself) projects on Pinterest,
found this one on repurposing hangers
by giving them a facelift
and beautifying them and -VOILA-
my D.I.Y project #1 was born!

Honestly, they came out so charming
and are super simple to make [!]
What you'll need:
- Hangers (I used 8 ugly plastic ones in miscellaneous colors that I wanted OUT of my closet)
- 3-4 Fabric Patterns (I went to Joanne's for fabric and had a field day choosing from their selection. 1/2 yd will cover about 3-4 hangers) The fabrics I chose ranged from 4.99/7.99 per yd, so 1/2 yd will range from $2.50- 4.00 - NOT BAD! Try to choose a variety of patterns from the same color palette or color theme. My room is teal with pink accents - very Shabby Chic so I chose 2 teal patterns, a pink polka dot pattern, and a antique rose pattern. :)
- Ribbon (Optional) I went with a teal roll for $3.99
- Bows (Optional) I bought a small pack of mini pink bows for $1.99
- Glue Gun (you can use doubled sided tape, but I highly recommend a glue gun - so much easier! I bought a small pink one for $2.99 and a 10 pack of glue sticks for $1.99)
 |
| Materials: Hangers, Fabric, Glue Gun, Ribbons, Bows |
Instructions:
- Clear a workspace so you can lay out all your materials. Plug in the glue gun so it heats while you are doing this.
- Cut your fabric into long strips, about 1.5-2" in width.
- Glue the top of the fabric strip to the hanger (doesn't matter where you start) and begin wrapping fabric tightly. Do this until the entire hanger is covered - showing no plastic beneath. You will most likely go through 2-3 strips to do this, depending on the length of your strips. Tip: If you wrap in a horizontal fashion, you will cover more area and get more out of your fabric!
- Finish with a satin ribbon (color of your choice) if you wish. I also added some pink bows on top of a few of the ribbons. Be as decorative as you want. You can also mix up the ribbon colors and add whatever accents strike your fancy!
 |
| * 8 Lovely New Repurposed Hangers for Your Gorgeous Wardrobe * |


There you go fancy pants!
Hope you enjoy this little crafting session as much as I did.
Feel free to post your photos -
I love seeing everyone's ideas !
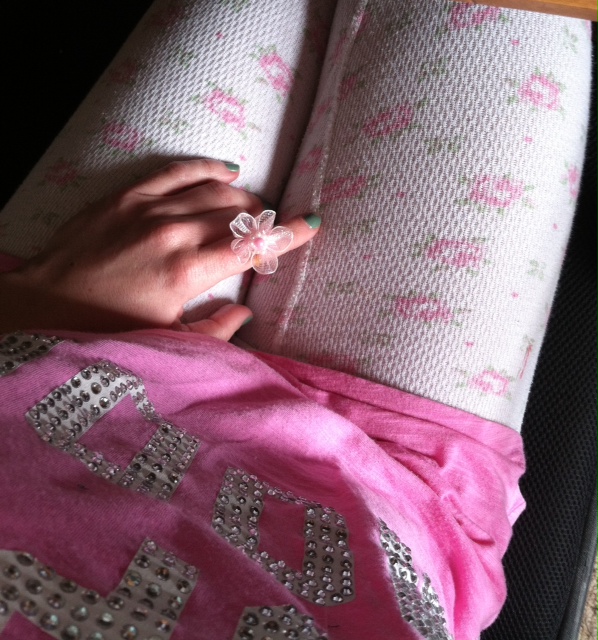
Side Note: Is this not the cutest, sweetest crafting assistant you've ever seen?
Sleeping on the job, but at least she ironed the creases out!

Now on to D.I.Y Project #2 - Hmmm...
BTW, what are you checking off your list? ;)
xo,
Rach
P.S I highly recommend working in your p.j's with some tea and honey!
Just throwin' it out there...
P.P.S Did I mention these make great gifts too?
My roommate has been talking about the black, white, and red
Baroque style theme she is going to be doing in her new bedroom,
so I made her these!
Perfect gift for a birthday, housewarming, or 'I'm thinking of you' gift-
just pair it with a good book, a candle, a picture frame, etc
and it's something homemade and from the heart <3 br="" nbsp="">


No comments:
Post a Comment
Whatcha thinkin?